Act 1
Note: All hidden places are identified by the red crystal.
Hidden Secrets 1
Find All Locations
Location 1: Almost directly to the left of where you’ll begin to spawn. When you spawn, walk forward, search for the large red light or crystal.
Location 2 – Nearly right in front location 1. The location 1 is visible from this location. after completing location 1, move forward and seek out a red light or crystal.
Location 3. From the initial location, head straight ahead and cross several bridges before arriving at the town. The town is where you’ll be able to find the three locations.
Location 4 – Once you have opened the gate using the key, look for the crystals with white messages. There’s a fourth location on the right side of the rock.
Location 5 after crossing a bridge and spotting the weeping willows, you’ll be crossing tiny islands. Location 5 is on one of these islands.
Location 6: After you have reached the location 5, you’ll be able to either turn left or to the right. If you go right, you will get to location 6, which is within a stone structure.
Location 7 – You’ll encounter additional bridges that you can cross as well as an escalator to climb which is connected to the rock. The seventh location is at the lower end of the stairs.
Location 8 – You’ll encounter another town when you follow the crystals of white story. Eighth and last place in Act 1 will be in the town.
Act 2
Note: All hidden places are marked with an red crystal.
Hidden Secrets 2
Find All Locations 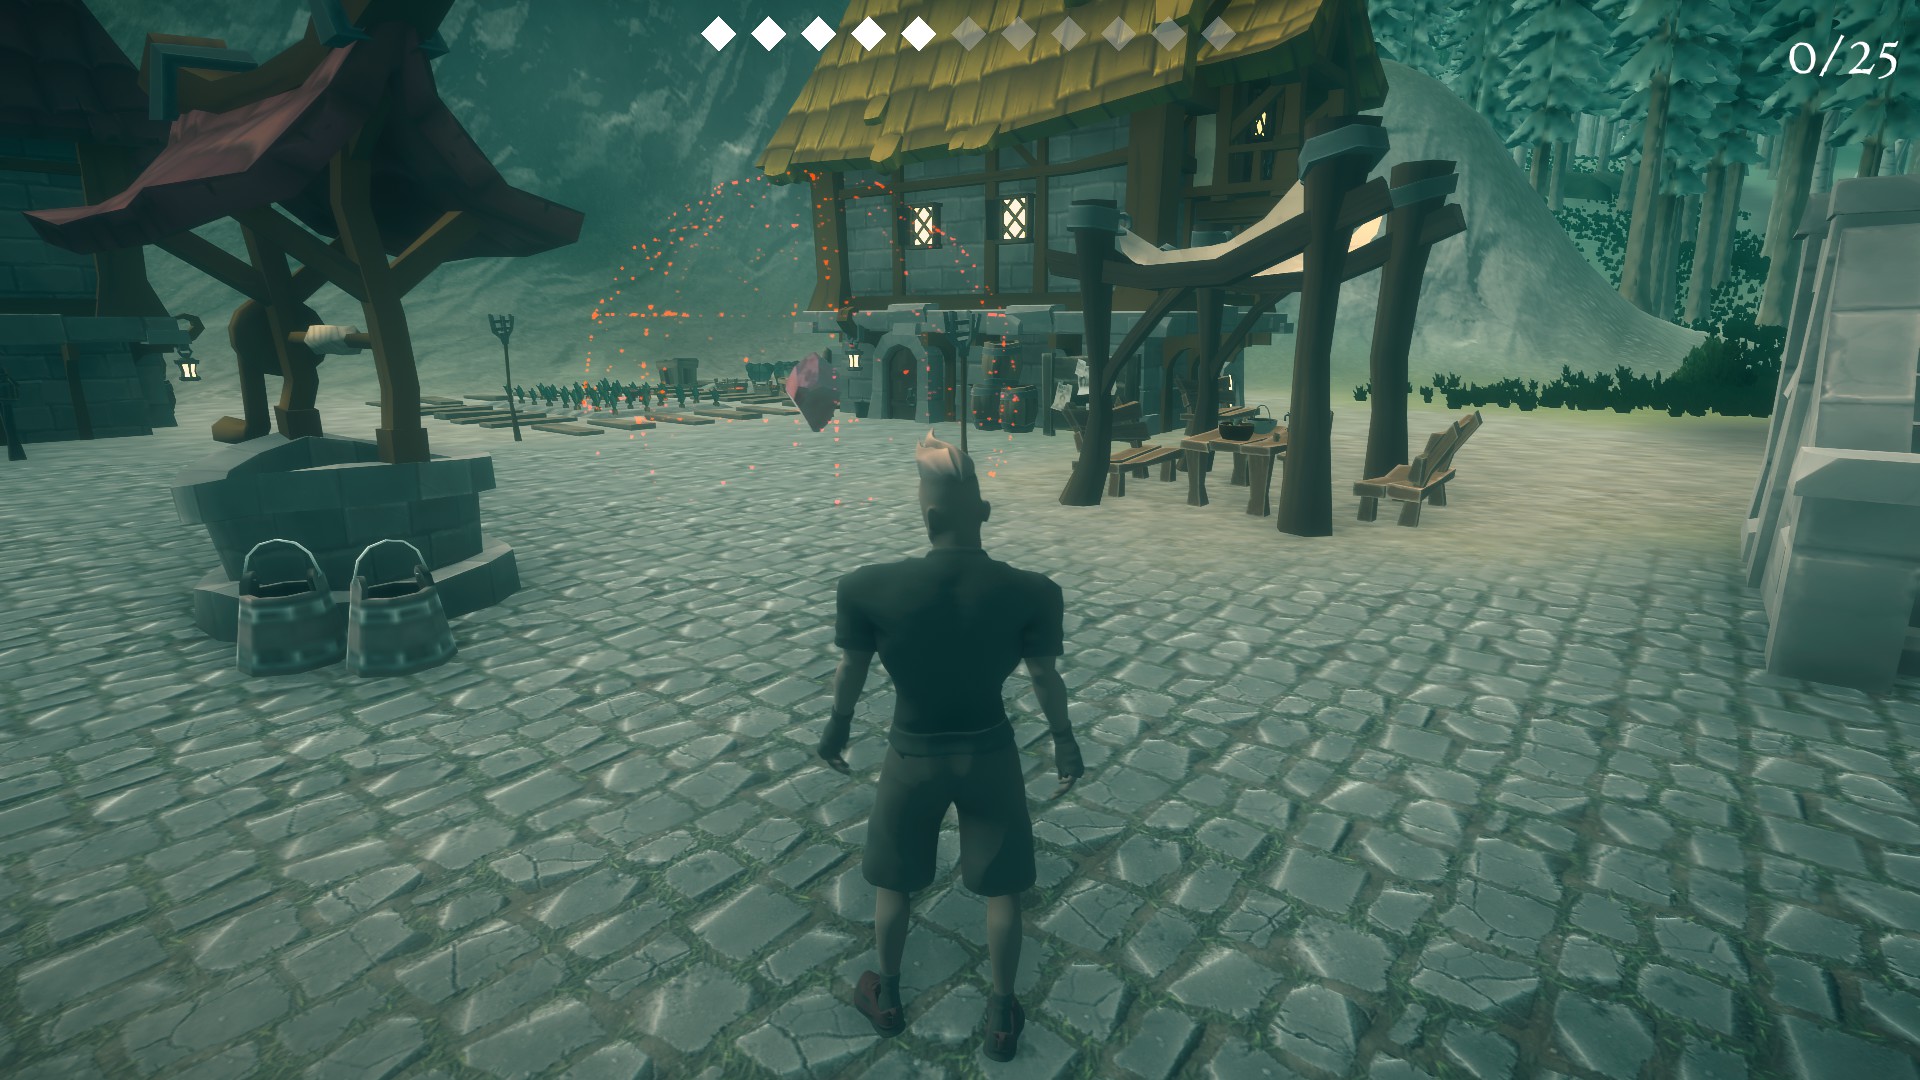
Location 1: After passing by the trumpet that is big and then you’ll find a small town. The first spot will be located here.
Location 2 – When you come upon a huge toy train, follow the right path. Continue to climb down the slope until you reach an open fence that you can walk through. Beyond the fence is the 2nd location.
Location 3: After you’ve collected the location 2, head to the left of the fence or follow the forward route from the toy train , and you’ll see location 3 at the edge of the town with the windmill.
Location 4 – You’ll eventually encounter a massive slide. When you reach it, make an exit to the left and go under it. The river will eventually be crossed with rocks that you can traverse in a particular part of it. Location 4 is located between the rock.
Location 5 – You’ll encounter an area that has lots of rocks around you on the way. There is two paths, one that runs left and one that is right. Moving left and after that, left again, will show you with the 5th location to your right.
Location 6 Location 6 is just after the rock maze right towards the middle of the road.
Location 7 Location 6 is right behind the split path. Go left and follow it until the end, where you will find the cave’s location 7.
Location 8 – Once you get to the big bunny and you are there, follow the right route. Then, at the next split make a right turn to follow it until the final destination 8.
Location 9: After taking the left path towards the bunny, follow the left turn to the next split path. Location 9 is straight ahead.
Location 10: While walking through the cube-like cube with the shaped holes, exit the hole on the right. Follow the path until you get to the rocks that span the water. The location 10 is directly across the rocks.
The cube is located at Location 11. From there, from the one that has hollowed holes, go to the exit to the right. Follow the road to the right , this time to climb up the hill. The location 11 is near the top of the hill.
Location 12 Location 12 will be located in the village that was destroyed following the huge dinosaur.
Location 13 – Prior to crossing the bridge, at the large rubber ducky take a left and continue walking until you reach the bridge and collect the location number 13.
Act 3
Note: All hidden places are identified with an red crystal.
Hidden Secrets 3
Find All Locations
Location 1 – Make the first or the second right from the stage. Keep going forward until you be at the 1st location.
Location 2 – You encounter the confusing lift and bridge. Go to the elevator that you first encounter, then the second elevator following that and the one that follows the one you’ve just taken to locate the second location on the hill’s central, tall hill.
3. Location 3. The area of swamp is large enough and is easy to lose yourself in, which is why I suggest staying on the bridge tracks. Location 3 can be located through the very first turn you can take when crossing bridges. Following that, don’t cross any bridges and head to the left side of the island that you’re on. Follow the planks of wood until you arrive at an open path that has an lamp post at the center. Follow the left side that is a bridge instead of wooden planks that are laid on the floor. Proceed forward and then turn left to enter town. The town is located at 3.
Location 4 – Once you’ve found location 3, follow the right route that’s in front of you. Follow the planks of wood that are in the ground until you come to rubble. The ruins are home to Location 4.
Location 5 – A little after you’ve crossed the swamp, you will encounter two bridges that cross (or more precisely, are just a little behind) several waterfalls. When you reach the top of these waterfalls, make sure to stay as to the left as you can until you get to an area with dirt paths. Take that hill up and then into the cave. On the opposite part of the cave will find Location 5.
Location 6 – Following Location 5, turn to sticking to the away from the direction you are able to. Then you will come to an underground cave. The cave will feature an area 6 within it. If you get to an over-waterfall that is multi-level before coming to this cave, you’ve made an unintentional turn.
Location 7- Near the top of the level prior to boarding the boat, you’ll be in an town. The town is located 7 inside it.
Act 4
Note: All hidden places are identified by an red crystal.
Hidden Secrets 4
Find All Locations
Location 1 The first town you’ll encounter will include the number 1 within it.
2. Location 2: There are two ways to exit to get out of town. One up along a high path and the other one is at the shore. Follow the beach path, and you’ll come across 2 locations. 2 by chance.
Location 3: After the beach, you’ll find a fork on the road, with three routes. Location 3 is directly near the start on one route.
Location 4 – Follow the left-hand path. There will be beach huts, and you will find Location 4 within them.
Location 5: The beach houses continue to the hill. There is an underground cave. Location 5 is located in the cave.
Location 6: After arriving at the fork on the road, follow the right route. You will find the campsite that has Location 6 in it.
Location 7 – Once you’ve gone through the tunnel following the campsite, turn left and walk down the beach while keeping your eyes fixed on the wall that is to your left. There is the cave you can explore and locate 7 inside.
Location 8: After leaving the cave following the camp, or when you reach the cave via the beach route, proceed forward, not turning left in order to go through the crystal. The next cave that you will see. The location 8 is just on the other side of your cave’s entrance.
Location 9-Location 9 can be located naturally located in the middle of the road walking along the story line.
Level 10 Location 10 is immediately following Location 9.
Act 5
Note: All hidden places are identified by the red crystal.
Hidden Secrets 5
Locate Every LocationLocation 1 The location 1 will be discovered naturally when along the story path prior to the cave system.
Location 2 Location 2 can be found naturally along the story path within the system of caves.
Location 3 – Once you enter the cave room with yellow gas in the lower part, you must stick to the upper portion. Location 3 is located in the upper walkways.
4. Location 4 can be discovered naturally on the story line, in a the room following the one that contains Location 3.
Location 5 : Location 5 can be found naturally on the story line in the room that follows the room which contains the Location 4.
Location 6 – Once you’ve been met with a split path , after Location 5, choose the left route. Location 6 is located in the room following the corridor.
Location 7: Continue remaining to the left after Location 6. Location 7 will be revealed within a short time after Location 6.
Location 8: In the room with the purple gas Location 8 will be just after entering the room.
Location 9 – Once you get to the bottom within the room, with the purple gas, do not take a left and head up. Instead, go forward to discover a cave entrance. Once you have entered, take the first turn and you will find the 9th location located in the next room.
10. Location 10 can be discovered in the main story path just after Location 9.
The Location 11 can be discovered on the main story line just after Location 10.
Location 12 – Once you enter the large room, with snow falling then turn left and go forward until you are unable to continue. Make a right turn and you’ll be able to see Location 12.
Act 6
Note: All hidden places are marked with an red crystal.
Hidden Secrets 6
Find all locationsLocation 1 The first location will be located along the main road within your first city you see.
Location 2 Location 2 located on the main story line located on the lake that is frozen.
Location 3: From the lake that is frozen, go towards the non-story direction and then continue until the end. It’s within the same location in Location 6 in Act 1 (if you’ve not noticed it yet that this is the exact map that was used in Act 1 with some changes).
Location 4 – Location 4 is near a gate once you enter another town.
Location 5 – Once you cross your next path split continue forward, not turning left. Keep to the path that is most left until you come across the bridge. The bridge will be crossed and you can keep taking right while remaining on the road, you will come across location 5 in the town that you are currently in (the one that has all keys in blue).
Location 6 – Upon opening the blue key you will find another town. Location 6 is located within that town.
Location 7 Location 7 is right in front of the place where you first appeared in Act 1. It is the town that follows after Act 6, Location 6.
Story-related
These accomplishments aren’t to be missed and can be obtained easily by advancing the story.
Act 1
Enter Act 1
Act 2
Enter The Act
Act 3
Enter The Act
Act 4
Enter The Act
Act 5
Enter The Act
Act 6
Enter The Act